 When setting up dynamo lighting on a bicycle with no provisions for it (i.e. no internal routing or special braze-ons), there is always the question of how to route the wiring so that it looks "clean." After all, no one likes to see black wires coiled around a frame's fork and tubes. When setting up the lights on my Rivendell some time ago, the Co-Habitant and I developed a nice method that is practically invisible, and I've been meaning to share it. So when we recently did the same to my Bella Ciao, I made sure to document it.
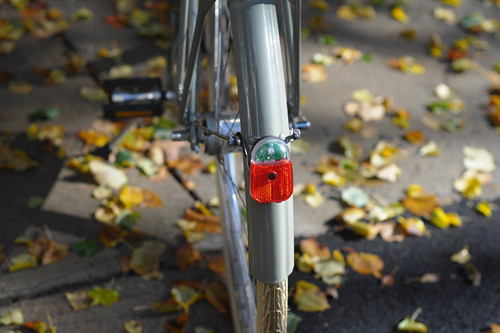 This method assumes that your bicycle is equipped with fenders, and that you are installing both a headlight and tail light. I will also assume that you already know how to connect the lights themselves; this is not meant to be an electrical tutorial.
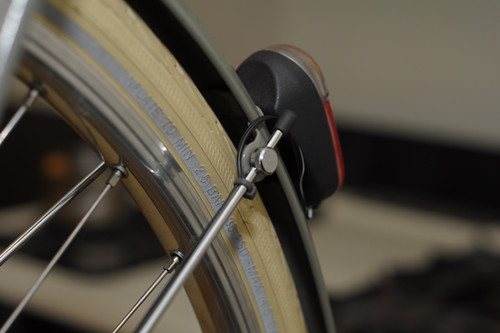 The key to our method is using as little wiring as necessary - running it in a straight line parallel to existing stays and tubes, as opposed to coiling it, and securing it with colour-matched zipties. It's a simple idea, but colour-matched zipties really do blend in with the bicycle when all is said and done. You may be surprised to learn that they are available in all sorts of colours - from bright rainbow hues, to neutrals such as clear, white, cream, taupe and gray. We use small gray zipties to route the wire from the tail light along the non-drivetrain side fender chainstay.
 In natural light, the result looks like this.
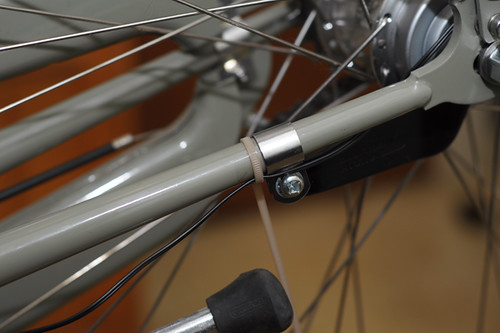 We then proceed along the non-drivetrain side chainstay, using a larger colour-matched ziptie. This frame is a sort of pale military green, and this beige ziptie blends in nicely.
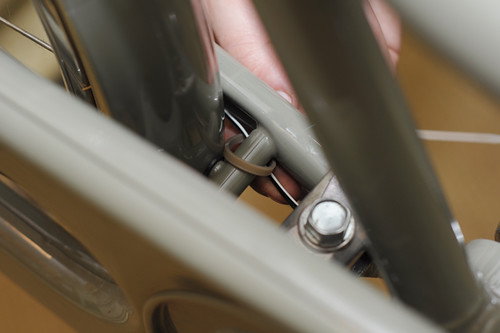 Continuing the same underneath the bottom bracket.
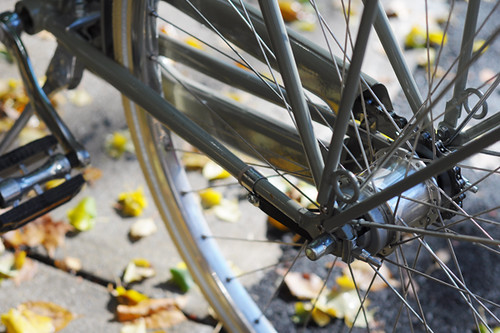 In natural light, the wiring really does "disappear" when routed in this manner, staying close to the chainstay.
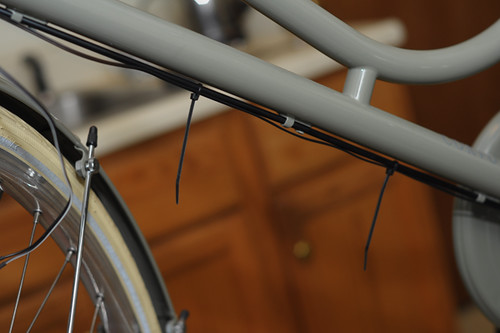 If your frame already has shifter cable braze-ons on the downtube as this one does, then you can simply attach the wiring to the shifter cable itself (small black zipties this time). Otherwise, use two large colour-matched zipties for the dwntube, like we did here.
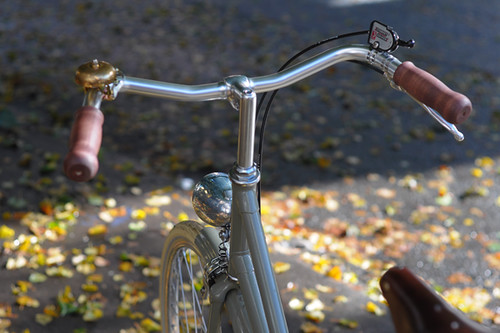
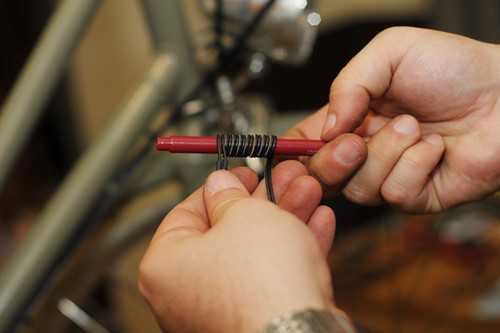 For the headlight, you will need to leave enough wire so that your ability to turn the handlebars is not constricted. We prefer to achieve this by creating a coil here. To do this, simply wrap the wire tightly around a pen or a stick.
 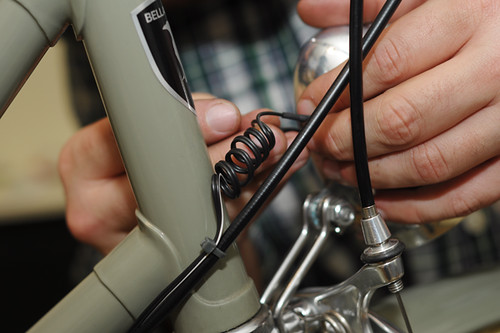 And voila, there is your coil. Notice the additional ziptie along the shifter cable, just to keep everything neatly in place.
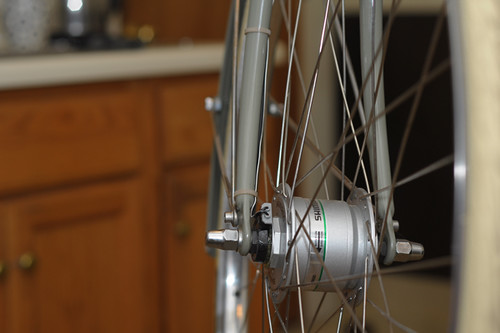 Finally, use the same colour-matched zipties along the fork as you did along the chainstays, routing the wire to the hub as tautly as possible.
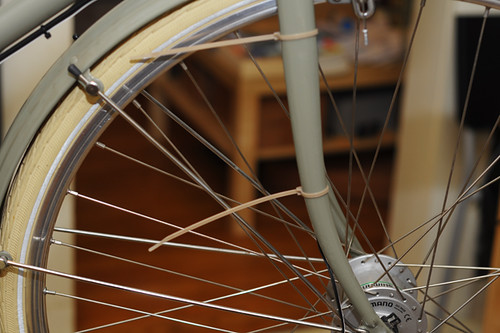 Even frames with internal routing often lack provisions for the fork, and here I find it especially important to find zipties in a colour that blends in with the paint - otherwise it can look as if the fork is cut into pieces, its elegant curvature disturbed. I am using my camera flash to show the process, but in daylight this really looks quite unobtrusive.
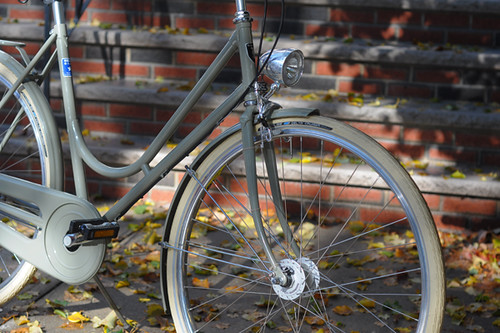 In natural light up close.
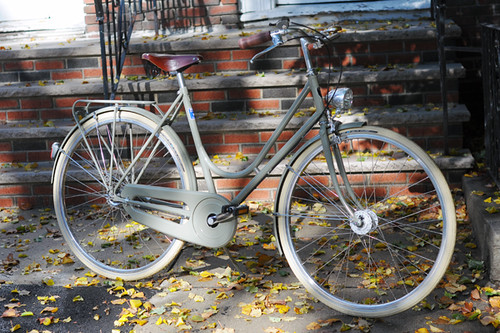 And from further away.
 Having used this method on three bicycles now, I am pleased with it and don't particularly covet frames with provisions for internal routing. Nothing has ever come loose, and visually I am pretty happy with it. You are welcome to use our method, or to share your own.
No comments:
Post a Comment